JBL Tune 230NC Review: All You Need to Know Before Buying
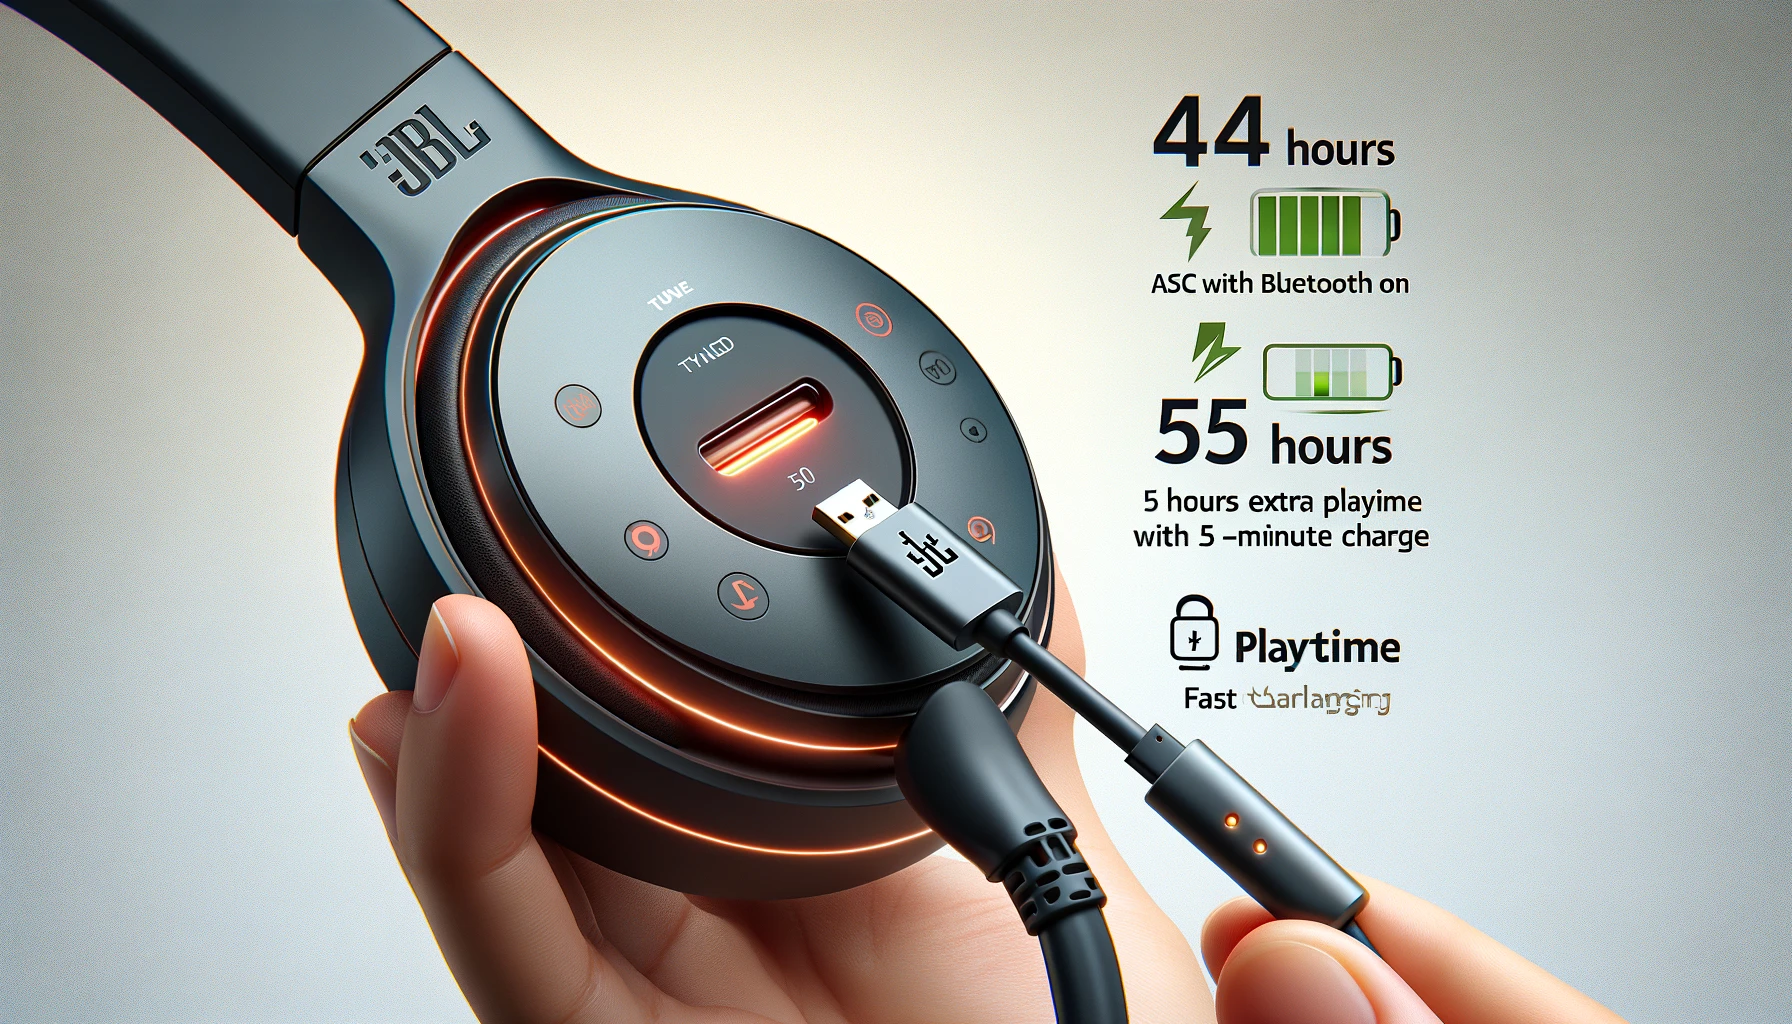
Introducing the JBL Tune 230NC, a versatile pair of true wireless earbuds designed to elevate your audio experience with advanced features and reliable performance. These earbuds boast active noise cancellation for immersive listening, ensuring distractions fade away whether you’re commuting or focusing on tasks. Enjoy up to 40 hours of battery life and seamless connectivity, … Read more